


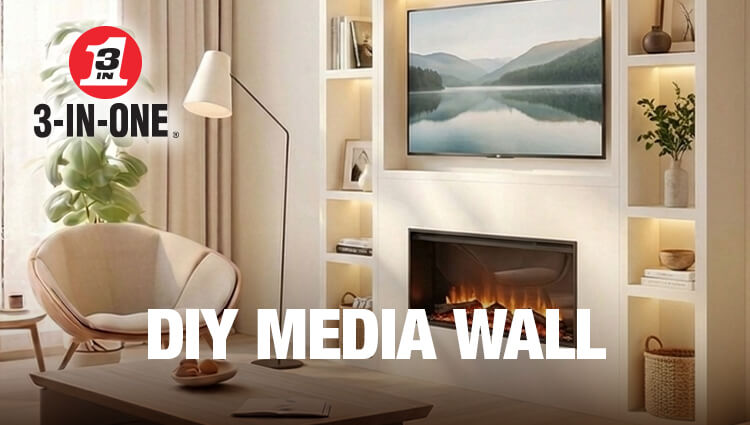
You want to hide messy wires and have a picture-perfect media wall, but you don’t want to spend £2,500 on it – luckily for you, you don’t mind a bit of DIY! With help of 3-IN-ONE Drip Oil and some simple instructions, you could save on the labour costs and make your media wall your very own masterpiece.
What you’ll need for your media wall:
- timber – for the stud frame that gives the wall its structure and holds everything to the wall
- MDF – for the smooth, paintable panels that form the visible face
- screws – to fix timber to timber and MDF to the frame
- drill – for pilot holes and driving screws
- spirit level – to keep every line straight
- paint and paint brushes – for the final finish
- 3-IN-ONE Drip Oil – to keep your drill bits, screws and hand tools free from rust between steps and your next project
- led lighting (optional) – for ambience.
How to build your own DIY media wall:
- Measure your space carefully
Get the exact dimensions of your media wall and mark where you want your TV bracket and any fireplace opening to sit. Double-check against your actual TV size and any wall sockets or aerial points behind it – moving those later is a bigger story than getting the measurements right now. Use your spirit level to mark a horizontal and vertical baseline before you cut anything.
- Build and fix the timber frame
Cut your media wall timber to size and build a simple stud frame using vertical pieces of timber (uprights) joined together with horizontal support pieces (cross braces). This is what everything else will hang off, so fix it securely into the wall studs or masonry (not just plasterboard) using appropriate screws/fixings. Check every upright with the spirit level as you go.
- Attach the MDF panels
Cut your MDF sheets to size, then cut out the openings for the TV and fireplace (if you’re including one). Measure twice at this point – an opening that’s slightly too small is fixable but one that’s too big won’t be. Screw the panels into the timber frame – work from one edge across so everything on your media wall is flush and square.
- Fill, sand and paint
Filler over the screw holes and joins, sand it down until it’s smooth and then paint your media wall! Multiple thin coats beat one thick one.
- Look after your tools
Once the dust quite literally settles, apply your Drip Oil with a cloth to wipe down your drill bits, screws and hand tools. It will prevent rust and keep everything looking its best!
With your new media wall that looks like a professional did it – people will ask ‘who did that for you?’ and you’ll be genuinely smug when you say: ‘I did it!’.
Not a bad return for a weekend’s work!
More about 3-IN-ONE
To get more of your favourite 3-IN-ONE products shop for them online on our Amazon store. To join our cheerful community, follow us on: Facebook, Instagram, Twitter and TikTok.